#Introduction
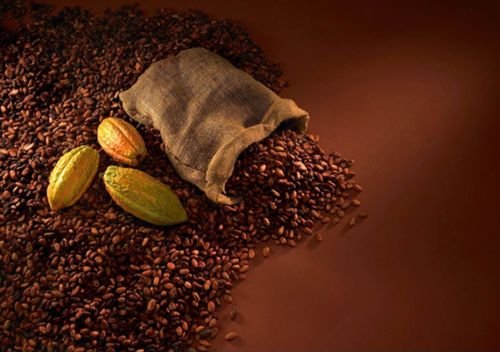
If you’ve ever wondered how fine chocolate is made, the journey begins with raw cocoa beans. While most people buy pre-processed chocolate products, creating your own from scratch offers a deeper connection to the art of chocolate making. In this tutorial, we’ll walk through how to roast raw cocoa beans and turn them into a delicious homemade chocolate. It’s a satisfying and surprisingly simple process that opens up a whole new world of flavors.
#What You’ll Need:
Raw cocoa beans (available at specialty stores or online)
Baking sheet
Oven or stovetop (for roasting)
A grinder (a coffee grinder works well)
Sugar (optional, depending on your sweetness preference)
Vanilla extract (optional)
Cocoa butter (optional for extra smoothness)
A thermometer (optional but helpful)
#Step 1: Prepare the Cocoa Beans
Raw cocoa beans are covered in a thick shell and must be cracked open to reveal the nibs, the edible part of the bean. Before roasting, it’s a good idea to give them a quick rinse under cold water to remove any impurities.
#Step 2: Roast the Cocoa Beans
Now comes the exciting part! Roasting cocoa beans enhances their flavor by bringing out the rich, earthy tones of the chocolate. You can roast them in a conventional oven or on the stovetop.
Oven Method:
Preheat your oven to 350°F (175°C).
Spread the cocoa beans out on a baking sheet in a single layer.
Roast for 15-20 minutes, checking every 5 minutes and stirring occasionally to ensure even roasting. You’ll know they’re done when they start to crack open and release a fragrant aroma.
Stovetop Method:
Heat a skillet over medium heat.
Add the cocoa beans to the skillet and stir frequently to prevent burning.
Roast for about 10 minutes, watching for cracking sounds and the release of fragrance.
#Step 3: Cool and Crack the Beans
After roasting, allow the beans to cool for a few minutes. Then, it’s time to crack them open. The outer shell will start to peel away, and you can either use your hands or a rolling pin to break them into smaller pieces. You’ll end up with a mix of cocoa nibs (the edible part) and bits of shell.
#Step 4: Grind the Cocoa Nibs
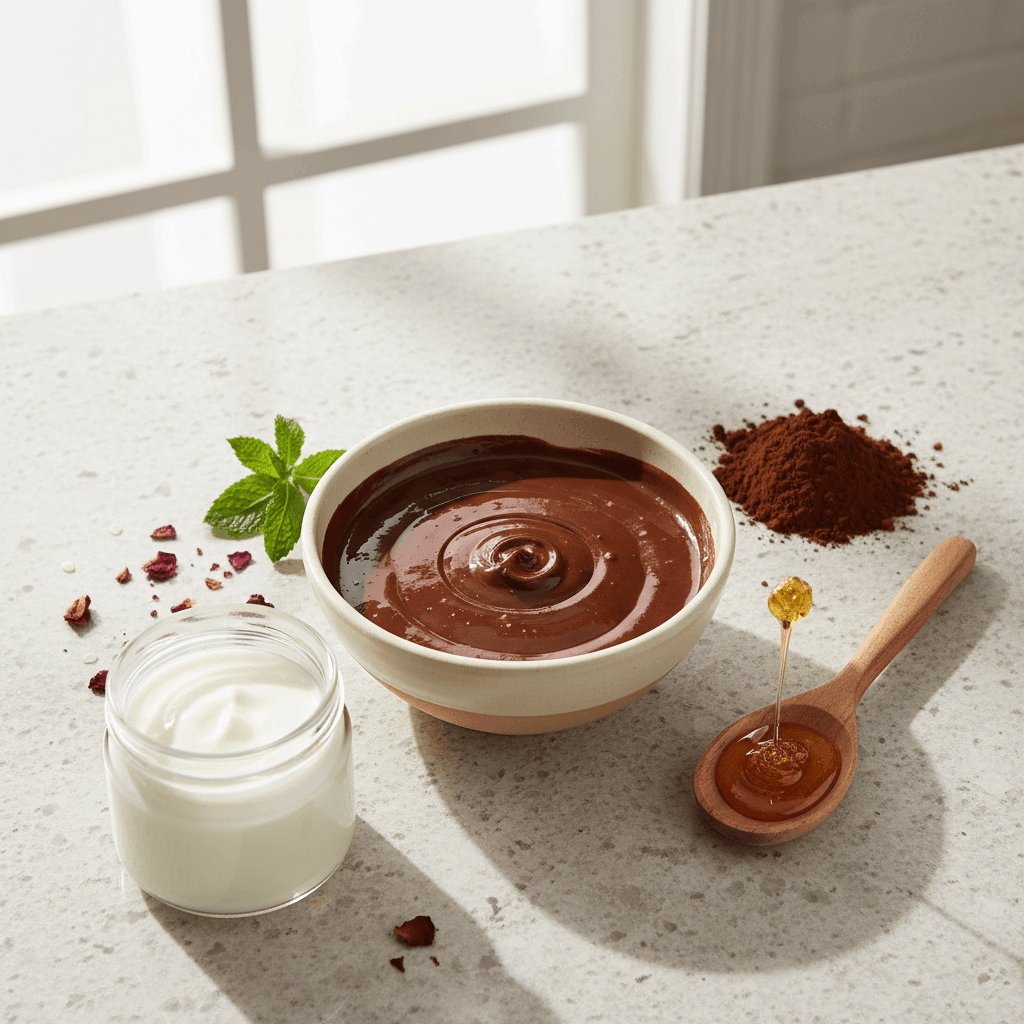
Once you’ve separated the nibs from the shells, it’s time to grind them. Using a coffee grinder or a specialized cacao grinder, pulse the nibs until they form a thick paste called cocoa liquor or chocolate liquor (don’t worry, there’s no alcohol here!). If you prefer a smoother texture, you can add a bit of cocoa butter at this stage to enhance the consistency.
#Step 5: Sweeten and Add Flavors (Optional)
Now that you have your cocoa liquor, you can add sugar and other flavorings, depending on your preference. A classic dark chocolate might use about 70-80% cocoa and 20-30% sugar. For added flavor, a dash of vanilla extract or a pinch of sea salt can elevate the taste.
Mix the sugar thoroughly into the paste. If you want your chocolate to have a silky smooth finish, you can also melt some cocoa butter into the mixture at this stage.
#Step 6: Tempering and Molding
To give your chocolate the perfect glossy finish and smooth texture, you’ll need to temper it. This involves heating and cooling the chocolate to specific temperatures to stabilize the cocoa butter crystals. While this can get a bit technical, it’s not absolutely necessary for beginners.
Once tempered, pour the chocolate into molds of your choice and allow it to cool. You can place it in the fridge to speed up the process.
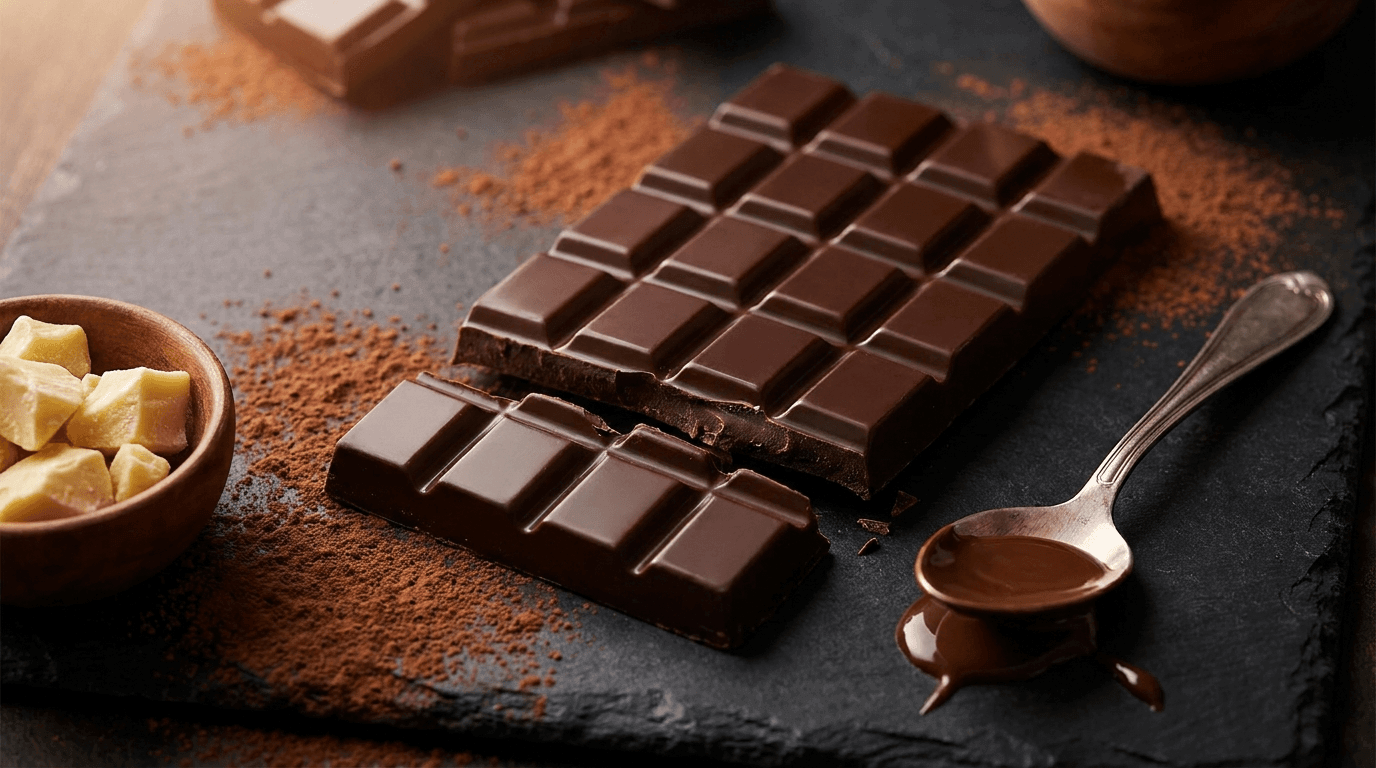
#Step 7: Enjoy Your Homemade Chocolate
After the chocolate has hardened, pop it out of the molds and enjoy! You’ve just created a batch of chocolate from scratch, and now you can savor its rich, complex flavor. Whether you choose to eat it as-is or use it in other desserts, your homemade chocolate will undoubtedly impress!
#Conclusion
Roasting raw cocoa beans and making your own chocolate is a fun and rewarding process that allows you to truly appreciate the flavors and craftsmanship involved in chocolate making. With just a few simple steps, you can enjoy fresh, delicious chocolate created entirely from raw cocoa beans. So, next time you want to treat yourself, skip the store-bought bars and make your own from scratch!